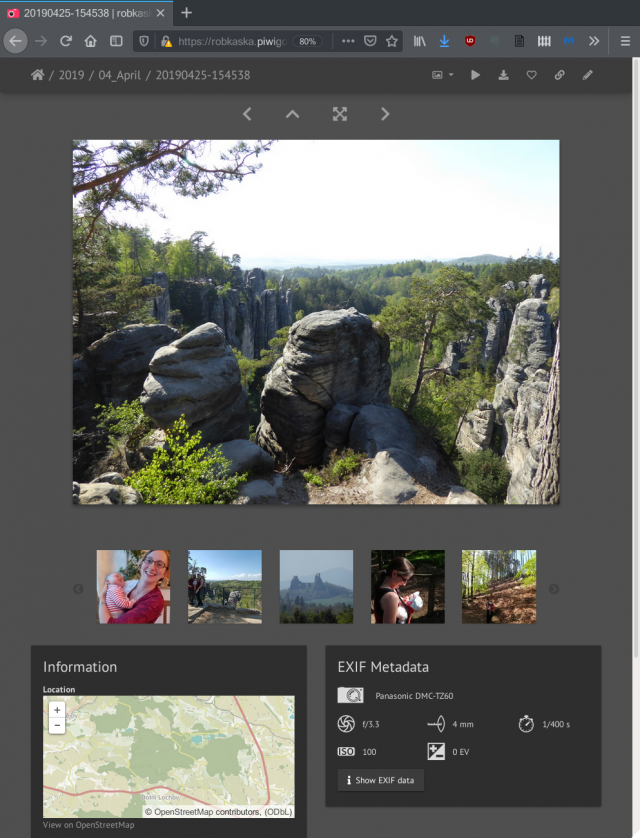
Over the years my photo collection has grown and grown, especially since switching to digital photography circa 2007. A few years ago I decided to make a concerted effort to properly organise, backup and maintain my collection. Around the same time, I began to take an interest in manual photography and post-processing. These are my steps to creating a consistent workflow for importing, organising and editing, all on an open-source stack.
The golden copies of my photos are stored on a 2TB external USB3 drive, which is fast enough for editing. The photos are backed up to my Synology NAS on import, which also means I can view them on the go when I don't have the hard drive with me, as I can access the NAS remotely through OpenVPN. I use a date based filesystem structure and add tags using a DAM (Digital Asset Manager) to help me locate photos. All my capture devices support GPS tagging; if they are unable to tag the location at capture time I add this later in review after import (this doesn't occur very often but Google timeline is a godsend when it does). Once photos are imported I review and give them a rating. Usually I'll select the in-camera JPEG if it's good enough, but post-process the RAW file if I think I can do a better job. I've found I just don't have the time to edit everything I want to keep, so this compromise approach works for me.
Getting to the Start-Line: A One-Time Cleanup
Before I could adopt my new approach, I had to clean up the existing collection. It was chaotic, some 30,000 photos scattered across various memory cards and drives. Likewise my backups were a mix of cloud storage, NAS, CDs and DVDs - it depended on when the photos were taken and what options I had at the time.
I copied all the photos, including backups in case any originals had been overlooked, into a single directory. Then I used Phockup to sort the photos into my preferred structure using their internal EXIF data. Phockup's name belies it's usefulness - it is invaluable in applying consistent organisation and naming and identifying duplicates. A couple of other tools were useful, where there were issues with the EXIF data: PhotoGrok lets you browse EXIF and EXIFTool is an incredibly powerful CLI EXIF editor.
Eventually I had the photos organised into a single directory tree, with a folder for each year and folders below for each month. There were 20,000 photos remaining after the cleanup, so around 10,000 duplicates removed.
├── 1994
│   ├── 05May
│   │   ├── 19940501-120001.jpg
│   │   ├── 19940501-120001.jpg.xmp
│   │   ├── 19940501-120002.jpg
 ...
├── 2020
│   ├── 01Jan
│   │   ├── 20200101-115248_01.jpg
│   │   ├── 20200101-115248_01.jpg.xmp
│   │   ├── 20200101-115248.dng
 ...
Importing New Photos
Rapid Photo Downloader handles the imports. It will remember devices and photographs that have already been imported, dropping them from subsequent imports. Your preferred directory structure and naming can be configured with regular expressions, with files and directories being named using EXIF data from the photos. It can be configured to import photos to a primary repository and a backup location.
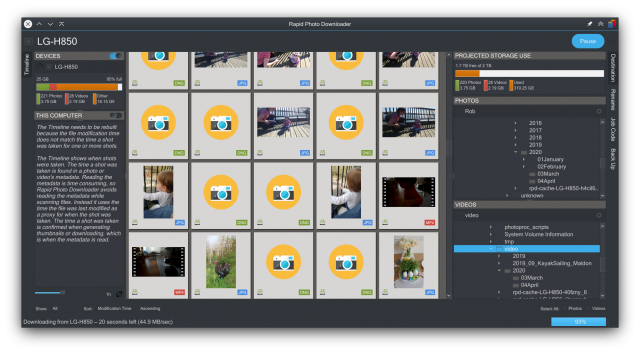
The user just has to maintain the self-discipline to run the import after each outing and delete the original photos from the device - Rapid Photo Downloader takes care of the rest.
Color Calibration
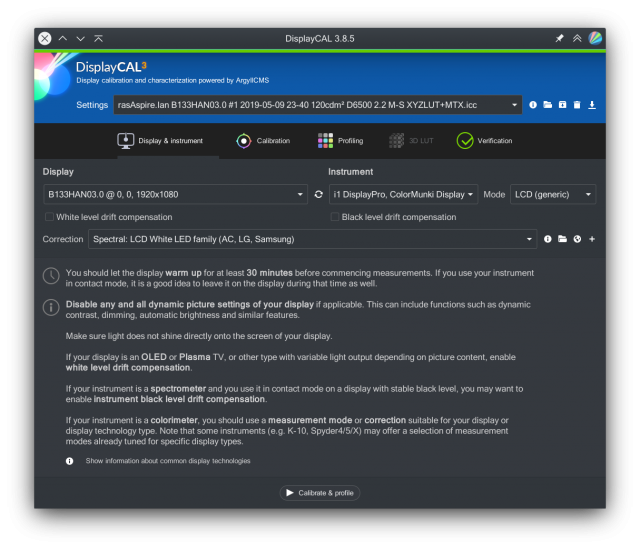
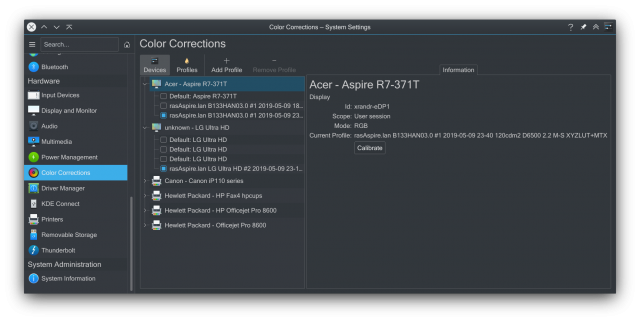
I use an X-rite i1 DisplayPro colourimeter with the DisplayCAL calibration software to colour calibrate my displays for colour accuracy. The KDE Plasma desktop supports the generated ICC profiles.
Management: Tagging, Geotagging, Reviewing and Rating
I use Digikam to manage the photos. It's been around for a long time, has a good reputation and excels as a DAM. It has excellent tools for tagging/geotagging, indexing, searching and filtering. Tags and metadata are stored in the files themselves, or in XMP sidecar files where the original filetype doesn't support this. This data is then accessible to other programs when viewing the files. The photos are kept in their original location. Digikam does have an internal database, but only for indexing performance reasons. If the database is lost, it can be rebuilt in its entirety from the information stored in the photos themselves.
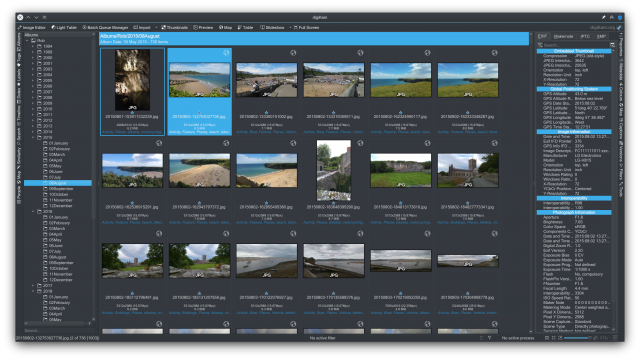
My process in Digikam is to work through each month, selecting groups of photos by event, say a trip or family visit, and tag them with the event name, people, place and any other salient features that occur to me: animals, vehicles, scene type, etc. When I have been through each subgroup of photos by event, I select everything and examine the geotags, amending any erroneous entries and adding those that are missing.
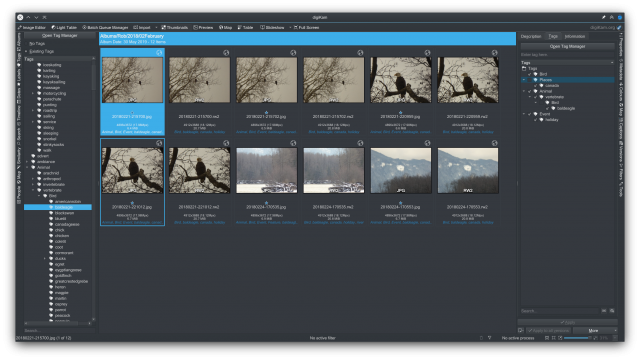
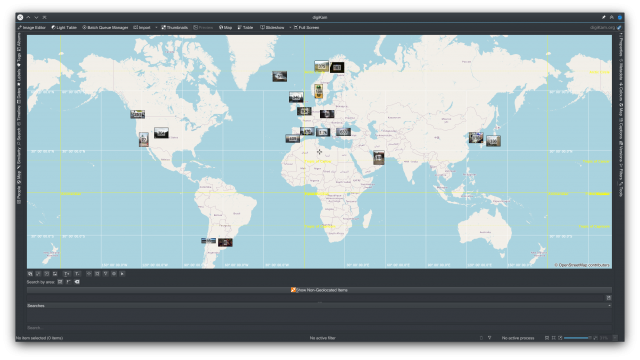
Because the photos have yet to be tagged when they are imported, I have an rsync script to re-sync the updated photos to the NAS once I've completed the tagging. The rsync script is also useful if I'm ever away and unable to access the backup target at the time of import, I can run it when I return home and it will push any missing photos to the NAS.
rsync -r -t -v --progress --delete -s /media/rob/PPDATA/digikam/ /mnt/photos/digikam
Editing
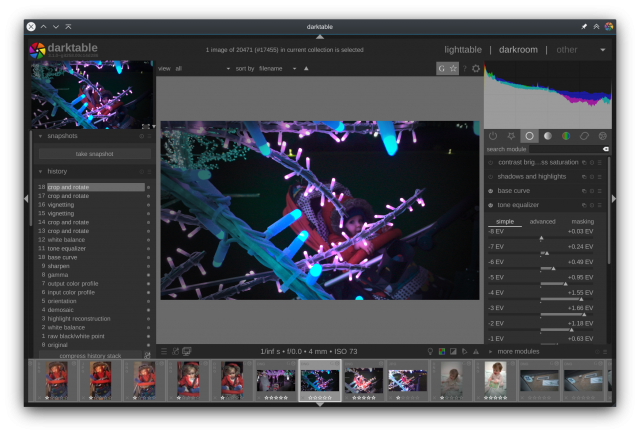
For complex edits, I use Darktable . While the built-in editor in DigiKam is capable, Darktable seems to give better results with some tasks such as editing curves, lens correction and denoising. Darktable metadata and ratings are interoperable with DigiKam, so changes are immediately visible in DigiKam.
Viewing
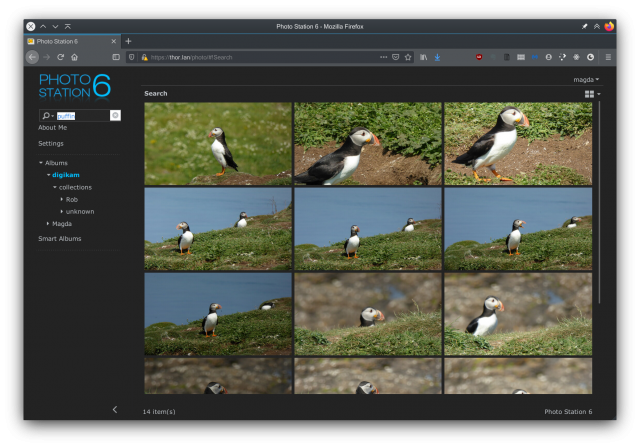
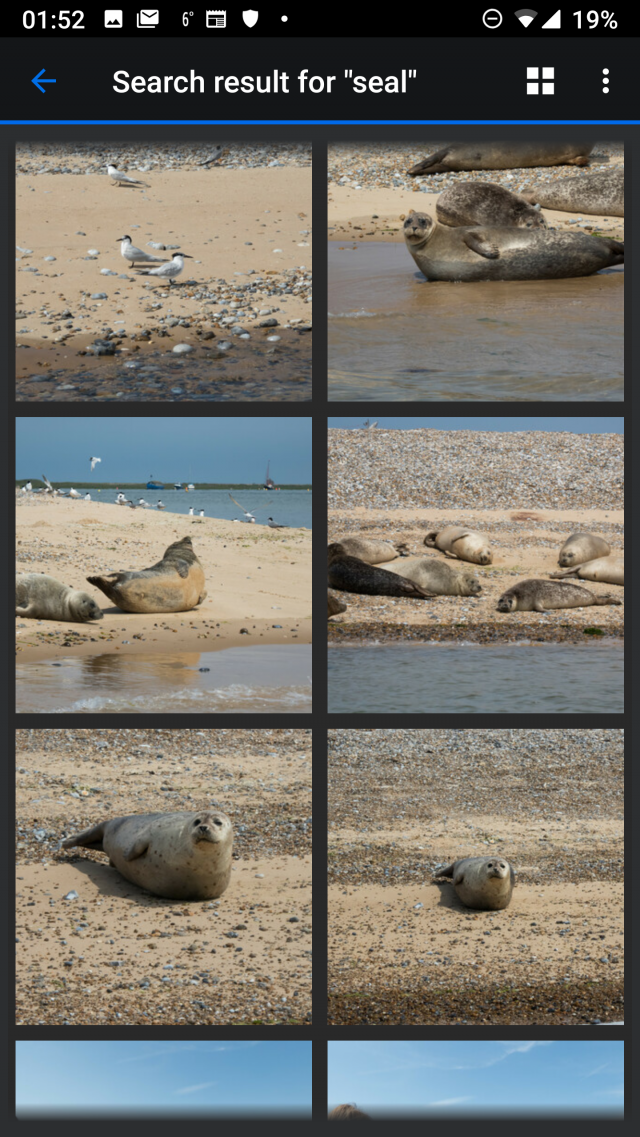
The PhotoStation web app on my Synology NAS is able to read all of the tags and metadata added to the files by DigiKam. There are apps for android and iOS for mobile browsing.
Publishing
DigiKam and Darktable provide export helpers for most of the major file-sharing, gallery and social media sites. I have a Piwigo hosted subscription for sharing with friends and family; it has exactly the features I wanted and being open source I can pack up my data and move to another vendor or self-host if I ever feel the need. It's a couple of clicks within DigiKam to upload to Piwigo.
